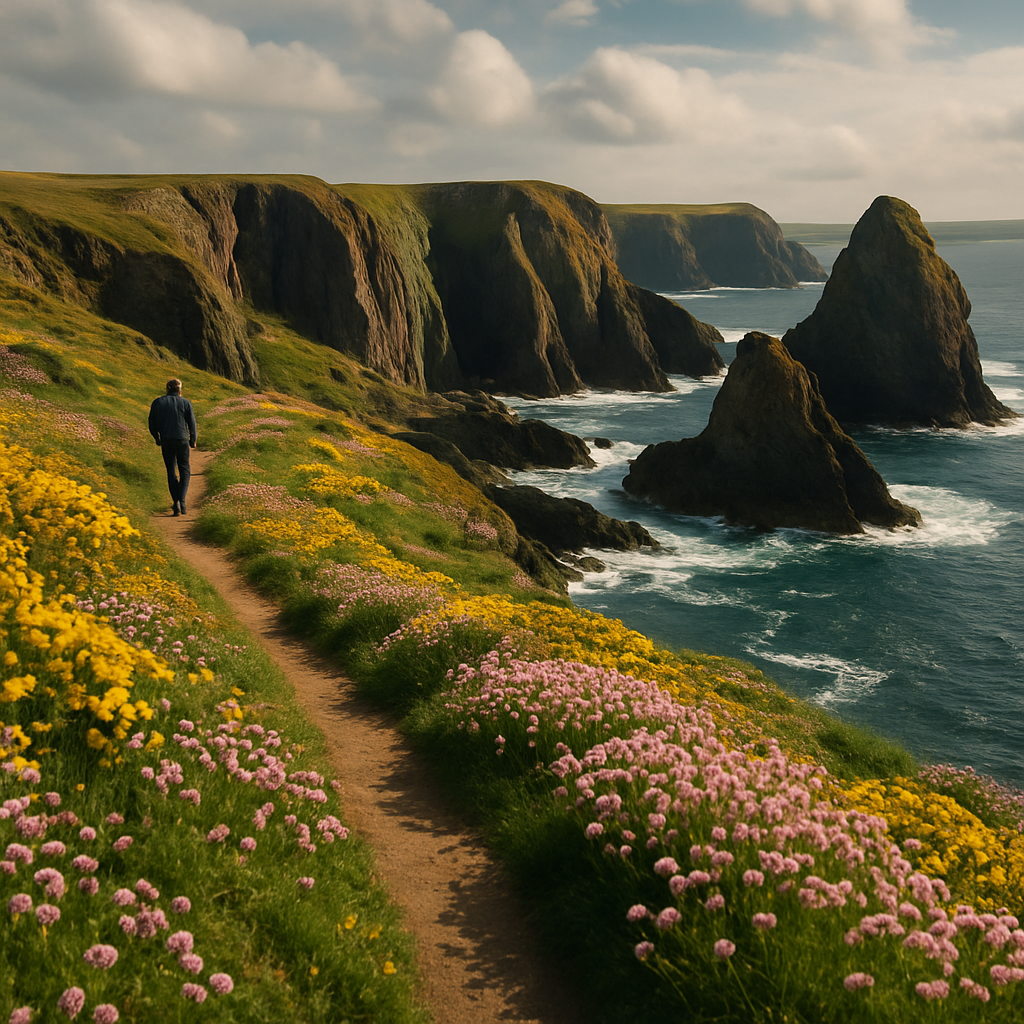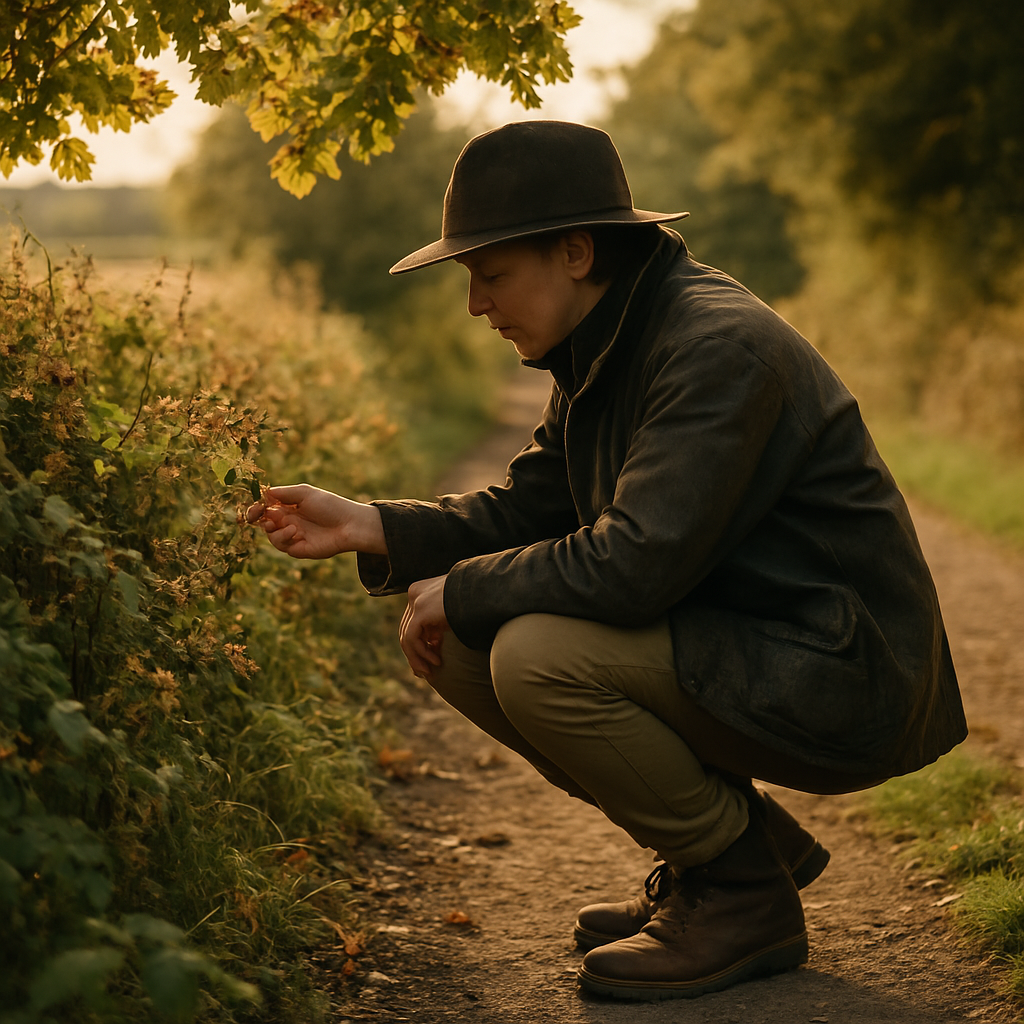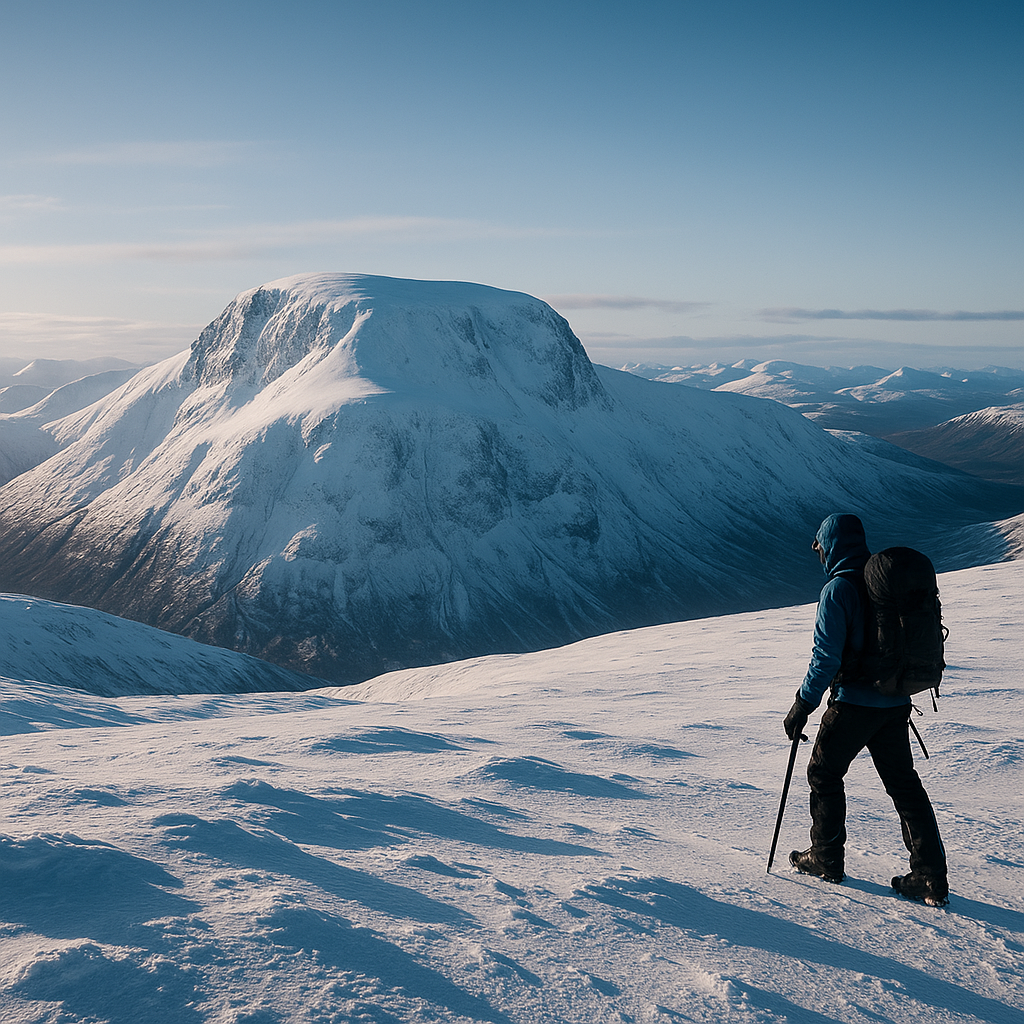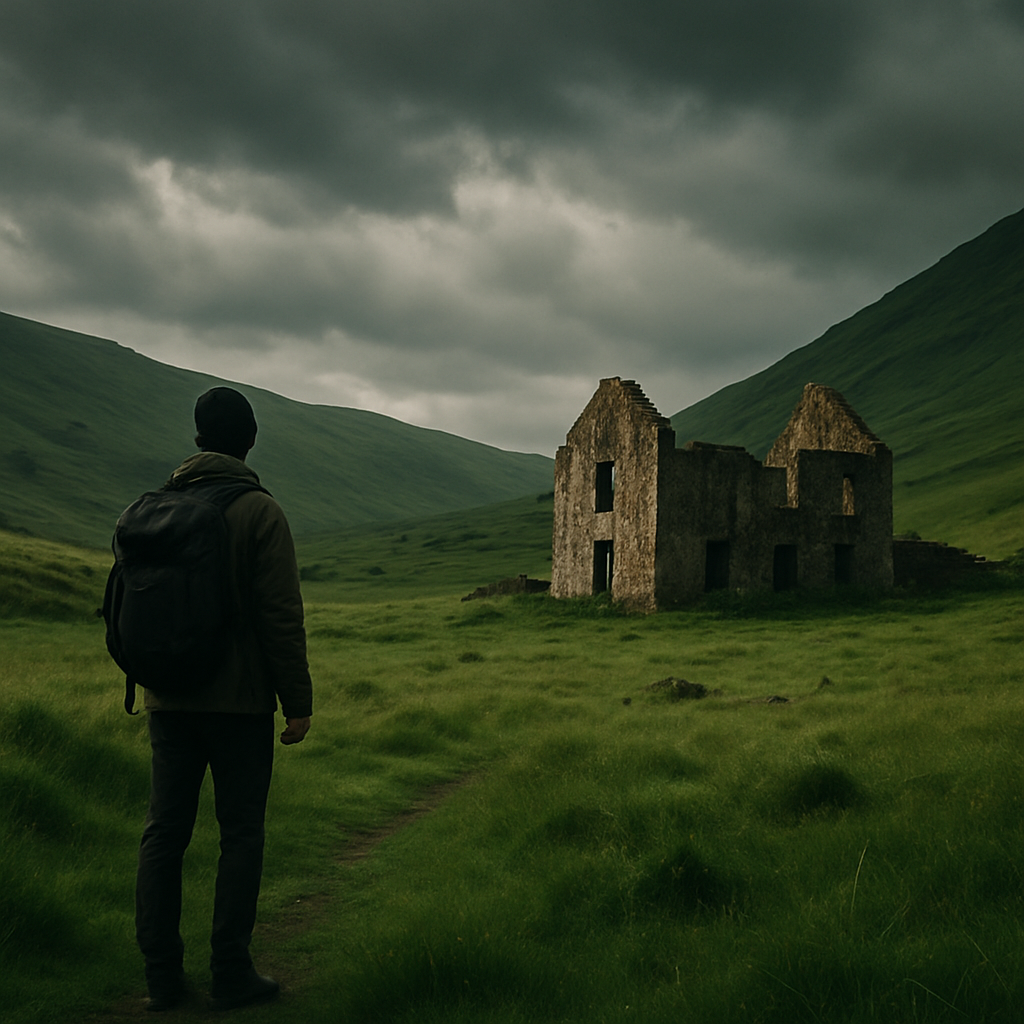
You’ve trained for months, saved up, booked the flights, and now you’re standing at base camp with the summit gleaming above you. Everything feels perfect. Then the headache arrives. A dull, persistent throb that sits behind your eyes and refuses to budge. That’s often how it starts. Altitude sickness is one of the most serious hazards facing trekkers and climbers at high elevation, and the trouble is it doesn’t care how fit you are, how many Munros you’ve bagged, or how well you slept the night before. Understanding altitude sickness symptoms prevention strategies and the hard decision of when to turn back could genuinely save your life.
What Is Altitude Sickness and Why Does It Happen?
Altitude sickness, medically known as Acute Mountain Sickness (AMS), occurs when you ascend to high elevation faster than your body can adapt to reduced air pressure and lower oxygen levels. Above roughly 2,500 metres, the drop in atmospheric pressure means each breath delivers less oxygen to your bloodstream. Your body responds by breathing faster and working harder, but the adjustment takes time. Push too high, too quickly, and things can go wrong fast.
There are three recognised tiers of altitude illness. AMS is the mildest and most common form. High Altitude Pulmonary Oedema (HAPE) involves fluid building in the lungs. High Altitude Cerebral Oedema (HACE) involves swelling of the brain. Both HAPE and HACE are life-threatening emergencies. Knowing the difference between them and a standard headache is non-negotiable knowledge for anyone heading above 3,000 metres.
The Early Warning Signs You Should Never Ignore
AMS typically sets in between six and twelve hours after arriving at altitude. The symptoms are frustratingly easy to dismiss as tiredness or dehydration, which is exactly why people get into trouble.
The classic AMS warning signs include a persistent headache, fatigue that feels disproportionate to your effort, loss of appetite, nausea, dizziness, and disturbed sleep. If you’re ticking three or more of those boxes after gaining significant elevation, treat it seriously. A useful diagnostic tool used by medical teams in the field is the Lake Louise Score, a simple questionnaire that helps quantify your symptoms and assess severity. You can find the scoring criteria via the NHS and travel health resources or through MASTA, the UK’s leading travel health clinic network.
The danger signs that indicate progression to HAPE or HACE are a different matter entirely. Watch for extreme breathlessness at rest, a rattling cough producing pink or frothy mucus (HAPE), profound confusion, loss of coordination, inability to walk in a straight line, or someone becoming increasingly drowsy and unresponsive (HACE). If you see any of these, you are in an emergency. Descent must happen immediately.
Altitude Sickness Symptoms Prevention: How to Acclimatise Properly
The single most effective approach to altitude sickness symptoms prevention is giving your body enough time to adjust. This means planning your ascent profile carefully rather than simply booking the fastest route to the top.
Climb High, Sleep Low
This is the golden rule of acclimatisation. During the day, you can ascend to a higher altitude for exploring or training, but always come back down to sleep at a lower camp. Your body adapts most effectively while resting, and sleeping at a lower elevation reduces the stress on your system overnight.
Follow the 300-Metre Rule Above 3,000 Metres
Above 3,000 metres, most mountain medicine specialists recommend increasing your sleeping altitude by no more than 300 to 500 metres per day, with a rest day every three to four days. This pace might feel frustratingly slow when you’re keen to reach the summit, but it’s what keeps you alive and functional.
Stay Hydrated and Avoid Alcohol
Dehydration worsens AMS symptoms noticeably. Aim to drink three to four litres of water daily at altitude. Avoid alcohol in the first few days at elevation; it depresses your respiratory rate, interfering with the acclimatisation process. Strong coffee is worth limiting too, as a diuretic.
Consider Acetazolamide (Diamox)
Diamox is a prescription medication widely used as a preventative measure for AMS. It works by stimulating faster, deeper breathing and speeding up acclimatisation. You’ll need to speak to a travel health specialist or your GP before your trip, as it has contraindications and side effects including increased urination and tingling in the extremities. It’s not a substitute for proper acclimatisation but can be a useful tool, particularly for treks with rapid ascent profiles.
Popular High-Altitude Destinations and What to Expect
Most British trekkers heading into serious altitude territory are making for a handful of iconic destinations. Knowing the specific risks of each one helps you plan properly.
Kilimanjaro, Tanzania (5,895 metres)
One of the most popular high-altitude treks for UK travellers and also one of the most commonly underestimated. Many routes to the summit allow only four or five days for the ascent, which is genuinely too fast for most people. Studies suggest that between 25 and 75 percent of climbers on Kilimanjaro experience some form of AMS depending on the route and pace. The longer Lemosho and Northern Circuit routes offer better acclimatisation windows.
Everest Base Camp, Nepal (5,364 metres)
A classic itinerary typically runs fourteen to sixteen days, which builds in reasonable acclimatisation stops at Namche Bazaar and Dingboche. Even so, altitude sickness symptoms prevention needs to be taken seriously all the way, and AMS is common. The trek is well-supported with teahouses and medical posts along the route.
Machu Picchu and the Cusco Region, Peru (3,400 metres)
Many trekkers underestimate this one. Cusco itself sits at 3,400 metres and landing there directly from sea level frequently triggers AMS within hours. Spending a couple of days in Cusco before ascending further, or ideally visiting Sacred Valley (lower altitude) first, makes a substantial difference.
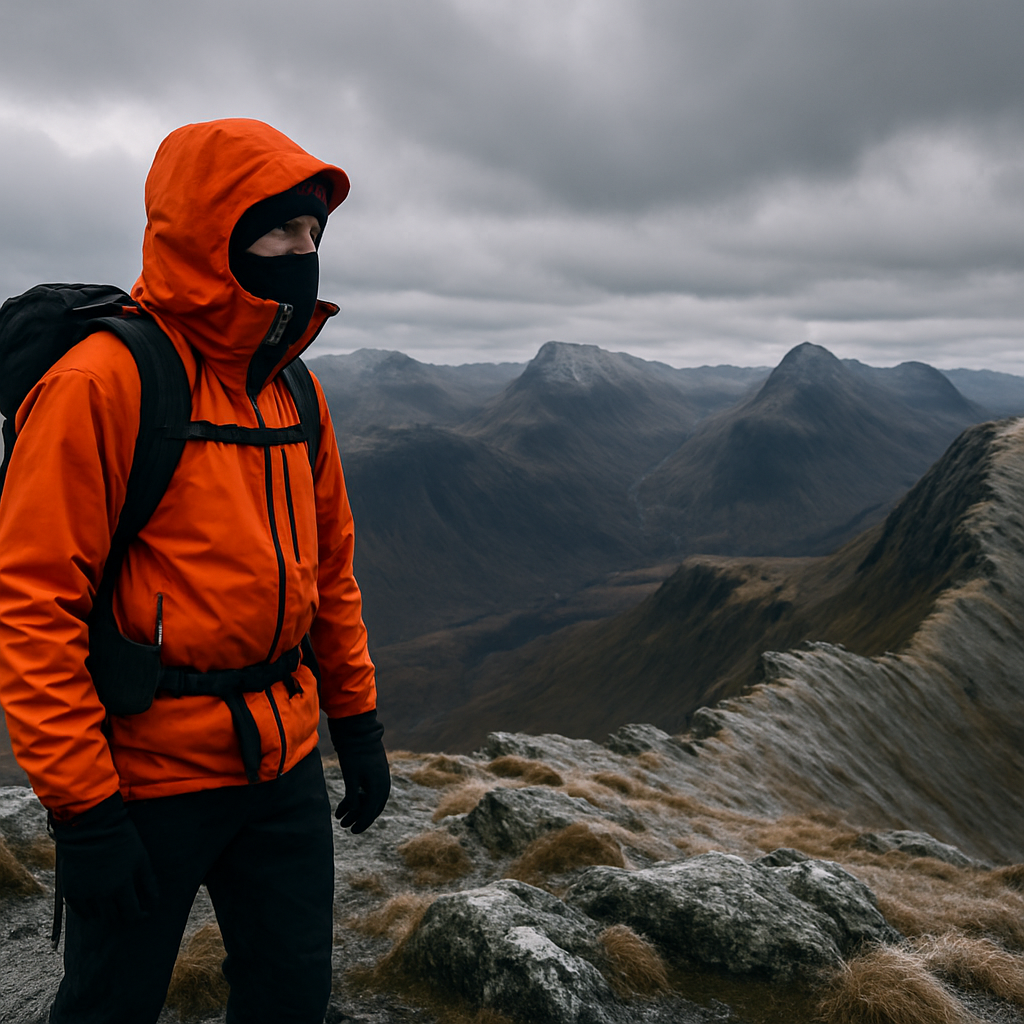
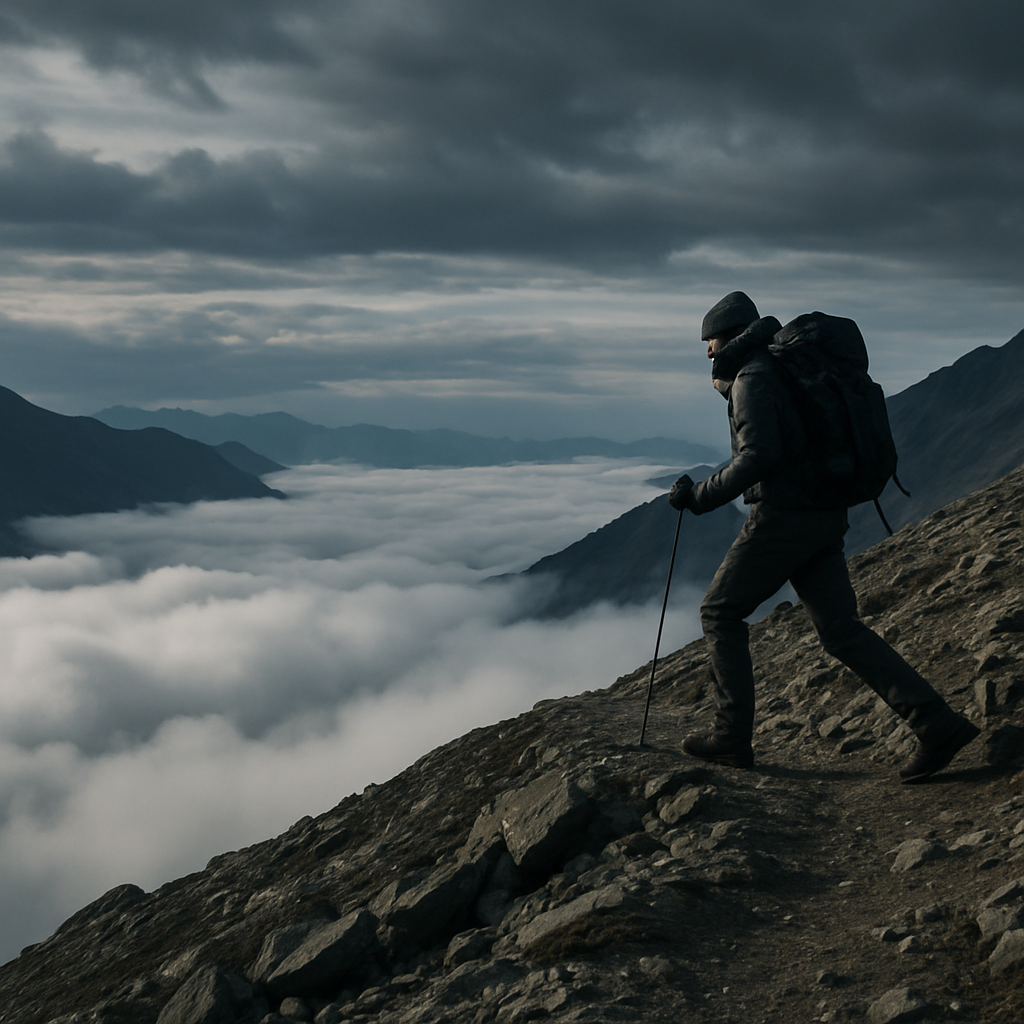
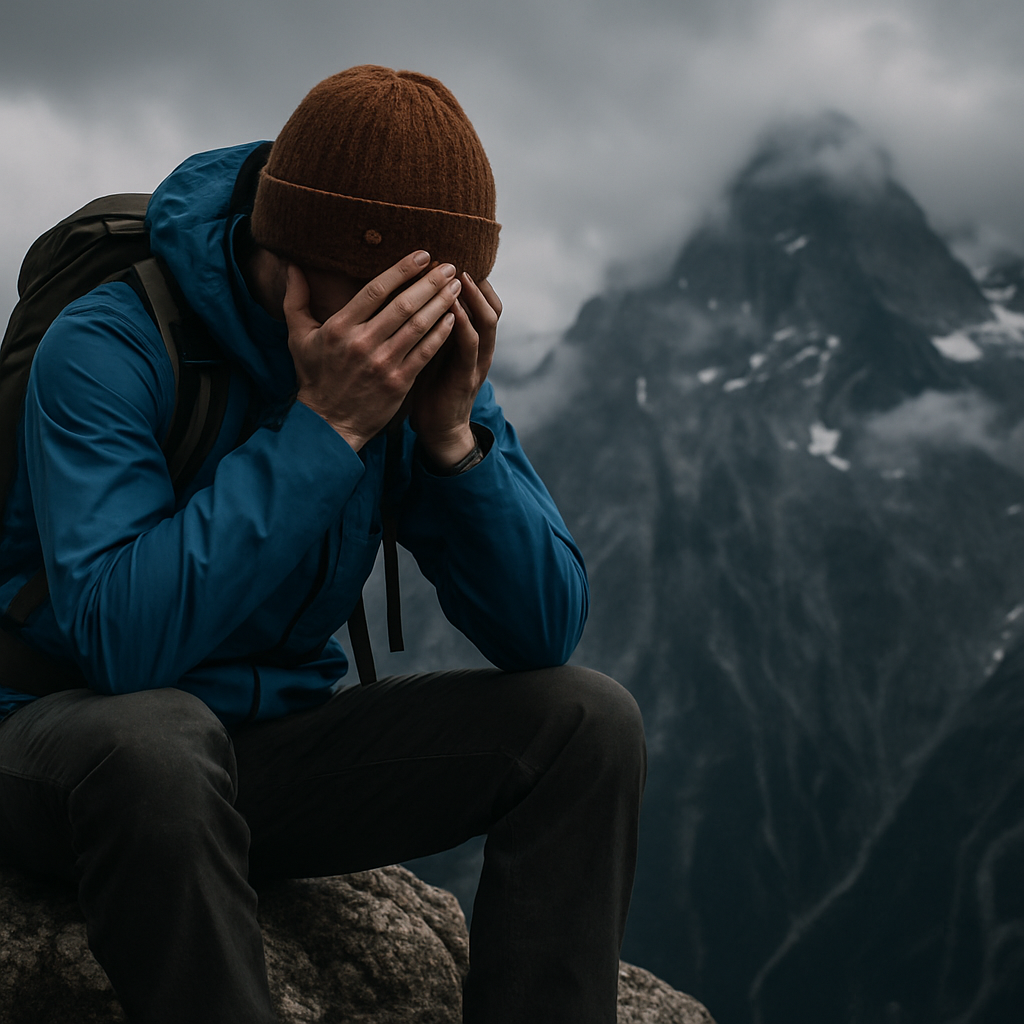
When Descending Is No Longer Optional
This is the part nobody wants to confront when they’re two days from a summit they’ve dreamed about for years. But altitude sickness symptoms prevention only takes you so far. Sometimes, the mountain wins, and the only right move is down.
If AMS symptoms are worsening rather than stabilising after a rest day at the same altitude, descend. Even a drop of 300 to 500 metres can bring significant relief remarkably quickly. Do not sleep at the same altitude if symptoms are progressing.
If there is any sign of HAPE or HACE, treat it as a life-threatening emergency. Descend immediately, even in the dark if necessary. If a portable hyperbaric chamber (Gamow bag) is available, use it while preparing for descent. Supplemental oxygen, if accessible, should be administered straight away. Dexamethasone can be used as an emergency medication for HACE; nifedipine for HAPE. These are not cures, they are holding measures to buy time for descent.
The psychological pressure to push on is real. Guides, fellow trekkers, the financial investment, the emotional weight of turning back so close to a goal you’ve trained months for. I’ve spoken to climbers who ignored early warning signs because they didn’t want to disappoint their group. That’s a choice that has cost people their lives. No summit is worth dying for. The mountain will still be there next year.
Before You Go: Key Practical Preparations
Talk to a travel health specialist well before departure. MASTA clinics across the UK can provide altitude-specific advice, Diamox prescriptions if appropriate, and a full assessment of your individual risk factors. Make sure your travel insurance explicitly covers high-altitude trekking and emergency evacuation, as standard policies frequently exclude activities above a certain elevation. According to the Foreign, Commonwealth and Development Office travel advice pages, it’s vital to check coverage before heading to remote regions where medical facilities are hours or days away.
Pack a basic first aid kit that includes blister treatment and basic analgesics, but if you’re heading above 4,000 metres, discuss with your specialist whether to carry emergency medications. Learn the symptoms cold, so you can recognise them in yourself and others without hesitation.
Going high is one of the most extraordinary things a person can do outdoors. The views from altitude, the effort it takes to earn them, the clarity that comes from being genuinely remote, it’s all worth pursuing. Just pursue it with your eyes open and your ego checked at the trailhead.
Frequently Asked Questions
What are the first signs of altitude sickness?
The earliest signs are usually a persistent headache, fatigue, nausea, and loss of appetite appearing six to twelve hours after arriving at altitude. Dizziness and poor sleep are also common early indicators. If these symptoms appear after a significant gain in elevation, take them seriously and do not ascend further until they improve.
At what altitude does altitude sickness start?
Symptoms can begin as low as 2,500 metres, though most people experience noticeable effects above 3,000 metres. The risk increases significantly above 3,500 metres, and almost everyone will feel some effects above 5,000 metres regardless of fitness level.
How do you prevent altitude sickness on a trek?
The most effective altitude sickness prevention strategies are ascending slowly, following the 300 to 500 metre rule above 3,000 metres, building in rest days, staying well hydrated, and avoiding alcohol. Your GP or a travel health clinic can also discuss whether Diamox (acetazolamide) is appropriate for your specific trek.
Can you get altitude sickness on Kilimanjaro?
Yes, AMS is extremely common on Kilimanjaro because many standard routes ascend too quickly for proper acclimatisation. Between 25 and 75 percent of climbers experience some form of altitude sickness. Choosing a longer route such as Lemosho and building in extra acclimatisation time significantly reduces the risk.
When should you descend due to altitude sickness?
You should descend immediately if symptoms are worsening rather than improving after a rest day, or if there are any signs of HAPE or HACE, including breathlessness at rest, a rattling cough, confusion, loss of coordination, or extreme drowsiness. Even 300 to 500 metres of descent can produce rapid improvement, and delay can be fatal.