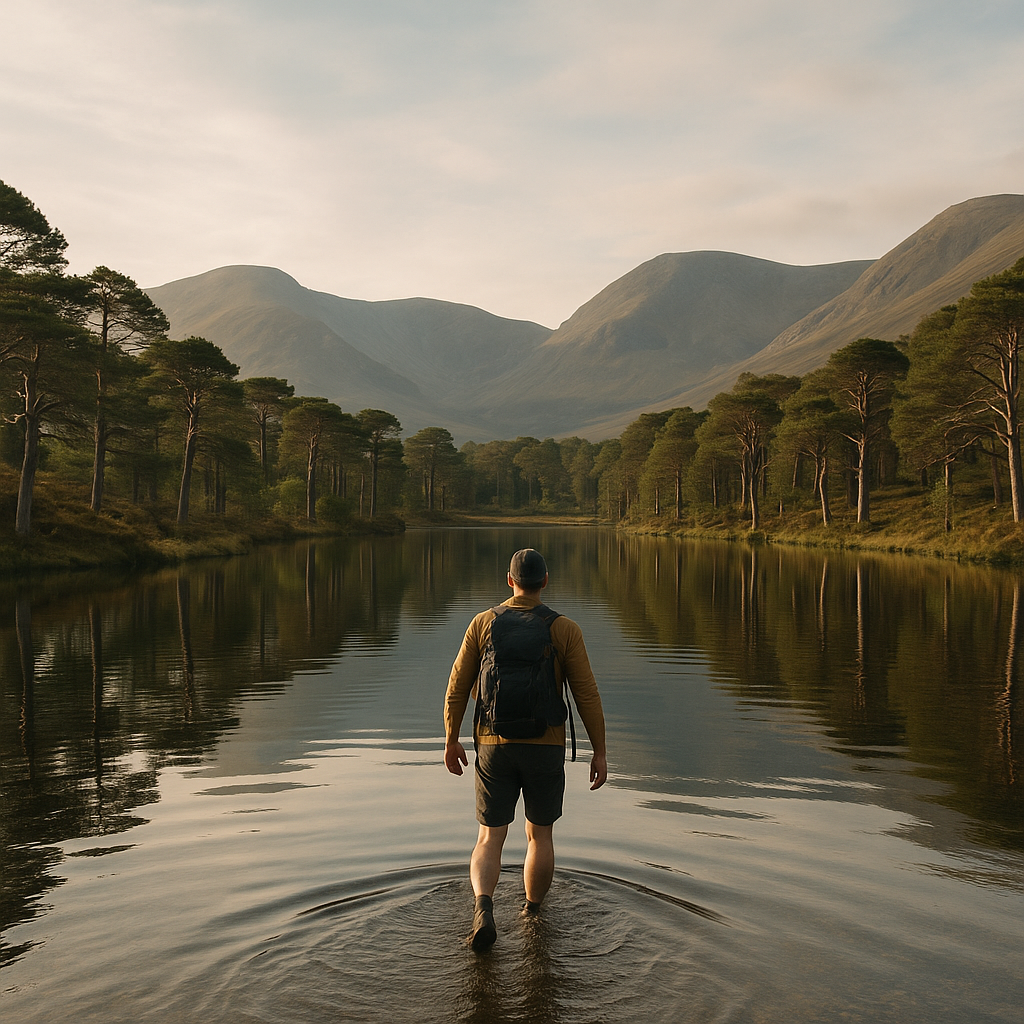
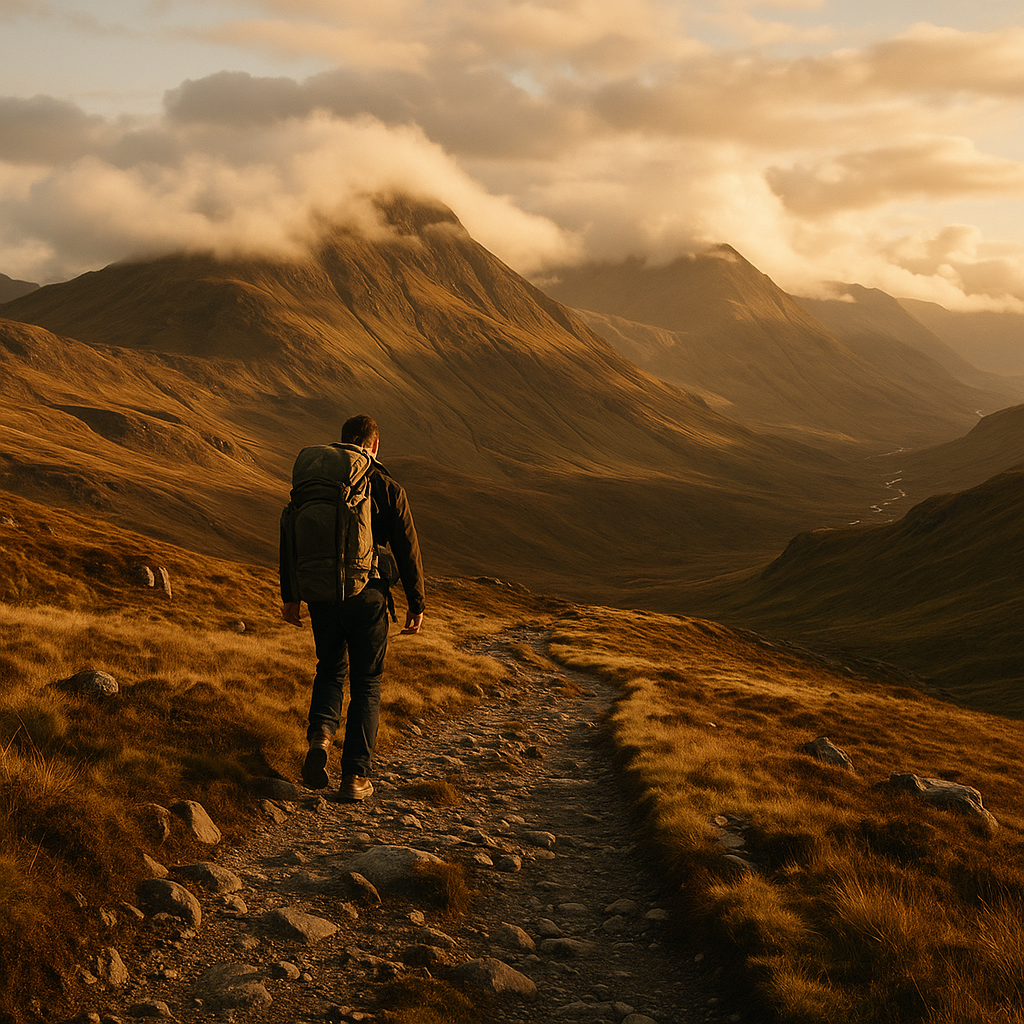
Some trails are long. Others are legendary. And then there are the routes that quietly rearrange your sense of what a human body can actually endure. Extreme long distance hiking trails sit in a category of their own: months on foot, thousands of metres of elevation, weather that does not care about your plans, and a mental grind that breaks people far fitter than they expected. I’ve stood at the foot of enough serious hills to know that ambition and fitness are very different things, and both matter enormously before you commit to something like this.
This is not a list designed to put you off. It’s an honest look at what these routes actually demand, and whether you’re the kind of person who could realistically take one on.
The Pacific Crest Trail: 2,650 Miles of Brutal Beauty
The Pacific Crest Trail, stretching from the Mexican border near Campo, California all the way to Manning Park in British Columbia, Canada, is probably the most romanticised of all extreme long distance hiking trails. Cheryl Strayed’s memoir made it famous. What the memoir doesn’t linger on quite so long is the snow. The Sierra Nevada in early season can be genuinely dangerous, with hikers postholing through metres of white without proper crampons or ice axes. Most thru-hikers take five to six months. The total elevation gain across the route is roughly 135,000 metres, which puts it somewhere between “relentless” and “ridiculous”.
Permits are required and competitive. US visas or ESTA are needed for British hikers, and border crossings require documentation. If you’re serious, the BBC’s endurance sport coverage frequently highlights how British athletes approach multi-month challenges, including trail endurance events, which can give you a solid frame of reference. The PCT Association recommends at least 800 miles of prior backpacking experience before attempting a thru-hike. Not day walks. Backpacking.
The Appalachian Trail: Mud, Humidity and 2,190 Miles
The Appalachian Trail runs from Springer Mountain in Georgia to Mount Katahdin in Maine, and it has a completion rate hovering around 25%. That number alone should tell you something. The AT is famous for its relentless terrain, its notorious mud (especially in the south and in Vermont), and a humidity level in summer that makes the Scottish Highlands feel like a desert.
What catches people out most is not the big mountains. It’s the cumulative nature of thousands of smaller climbs, day after day, with no flat respite. Average thru-hikers cover about 25 to 30 kilometres per day in their later weeks, but many burn out in the first month trying to do too much too soon. Gear selection matters enormously here. Lightweight matters. Blister management matters. And so does your ability to sit inside a dripping shelter for three days straight without losing your mind.
The Te Araroa: New Zealand’s 3,000 km Spine
If you want something that feels more remote than the American mega-trails, New Zealand’s Te Araroa covers roughly 3,000 kilometres from Cape Reinga at the tip of the North Island down to Bluff at the southern end of the South Island. River crossings are not just frequent, they’re part of the route. Some are waist-deep or higher. There are no bridges. The Tararua Range section on the North Island has weather so volatile that local trampers genuinely treat it with the same respect as alpine conditions.
New Zealand’s Department of Conservation publishes detailed safety advice and hut booking systems for multi-day routes, and it’s worth understanding the hut network before you go. Many sections of the Te Araroa pass through Department of Conservation land where the infrastructure is thin and resupply points are days apart.
The GR20: Europe’s Hardest Long Distance Trail
For those who want extreme long distance hiking trails without crossing an ocean, Corsica’s GR20 is your answer. At roughly 180 kilometres, it’s far shorter than the American giants, but what it lacks in distance it compensates for in sheer vertical brutality. The trail crosses the island’s mountainous spine, often at altitude, with exposed scrambling sections, minimal shade, and a reputation that defeats roughly a third of walkers who attempt it.
The GR20 is genuinely achievable for experienced UK hikers. If you’ve done multi-day routes in the Scottish Highlands, carried a full pack over the Cairngorm plateau in weather, and know how to navigate in mist, you have the foundations. The rock work is the curveball. Solid boots with ankle support are essential, and a mid-summer start typically means heat that British hikers underestimate badly.
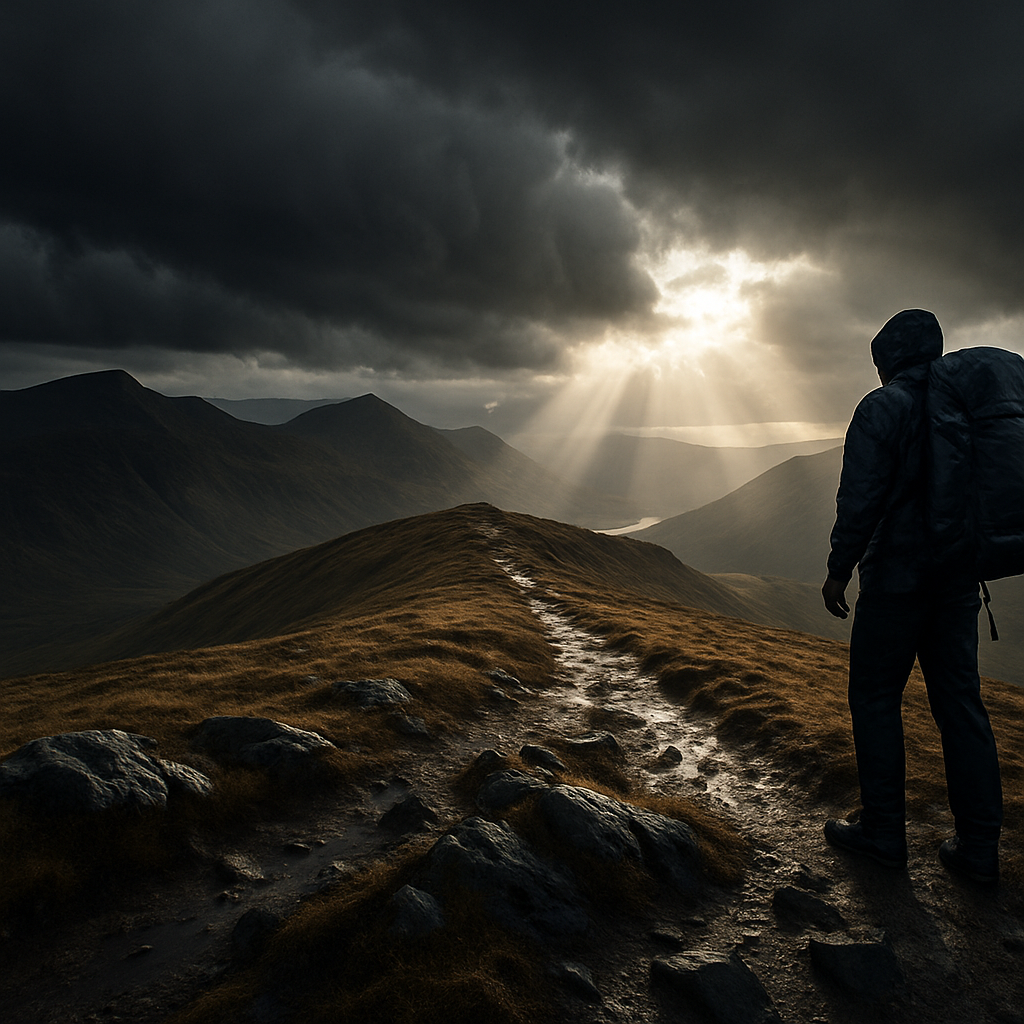
Could You Actually Do One of These Trails?
Honestly? Yes, probably, if you give it the preparation it deserves. Here’s what I’d say matters most, having spent a good chunk of time in UK mountains and on extended routes.
First, mileage base. You need months of consistent hiking under your belt before you attempt anything in the extreme long distance hiking trails category. Not gym sessions. Not weekend outings every few weeks. A proper 12-week programme building from 20 kilometres per week to 60 or 70, with back-to-back long days included, is the bare minimum. The UK government’s foreign travel advice pages are also worth checking for each destination, since some of these trailheads are in regions with entry requirements, health vaccination recommendations, or seasonal alerts that change regularly.
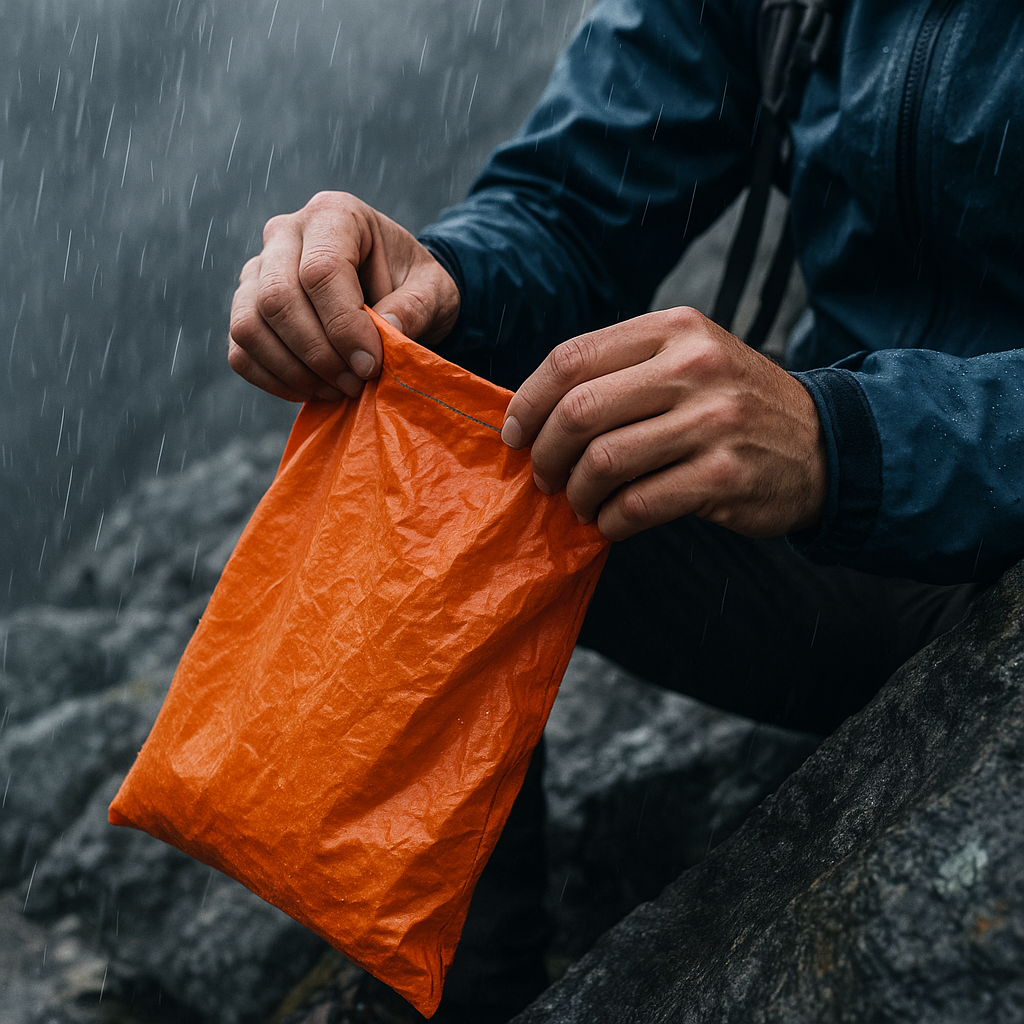
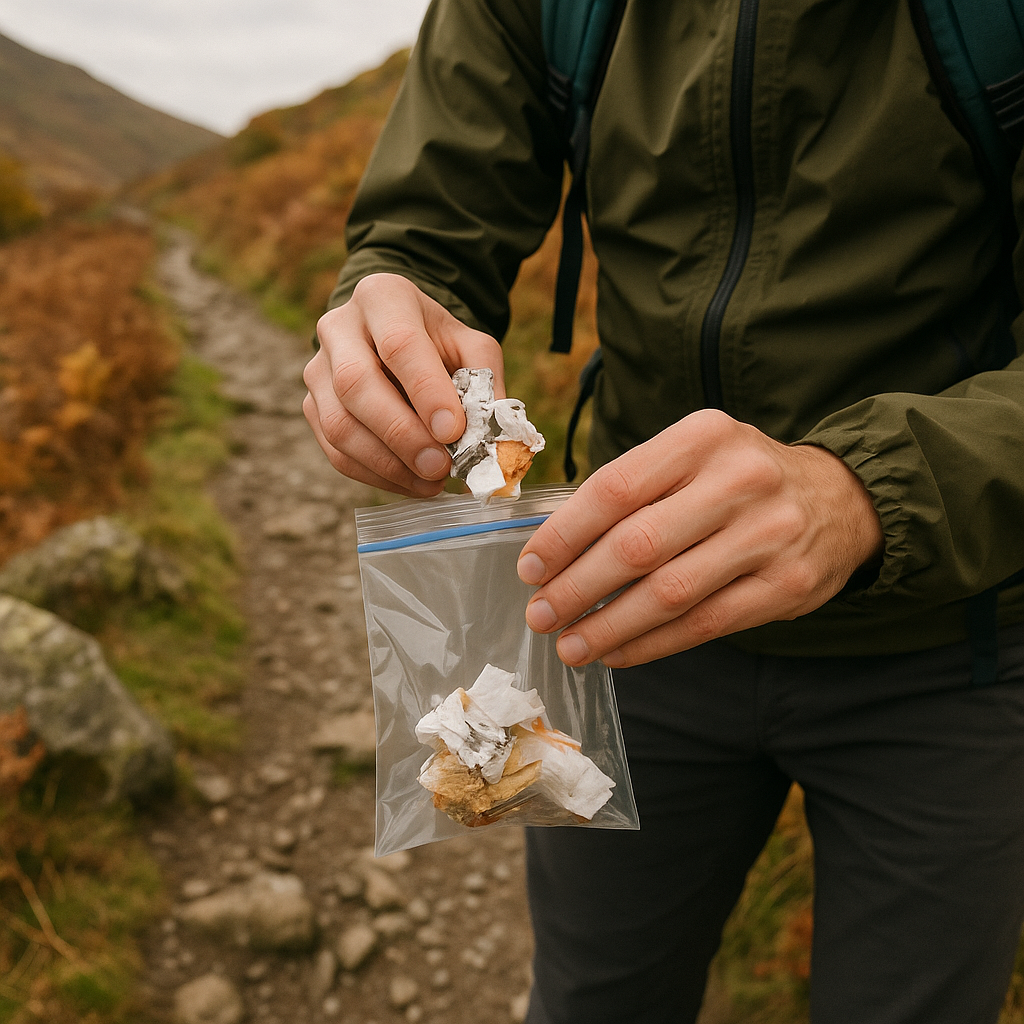
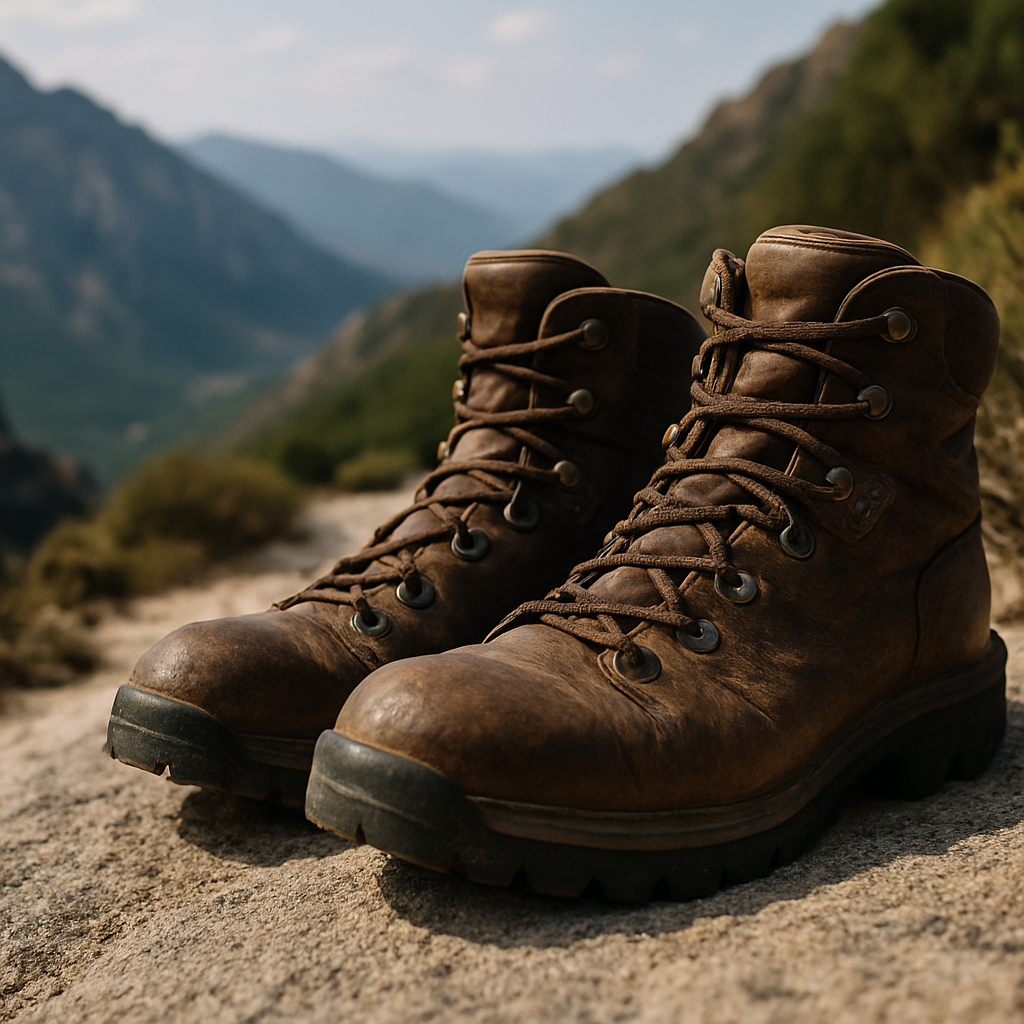
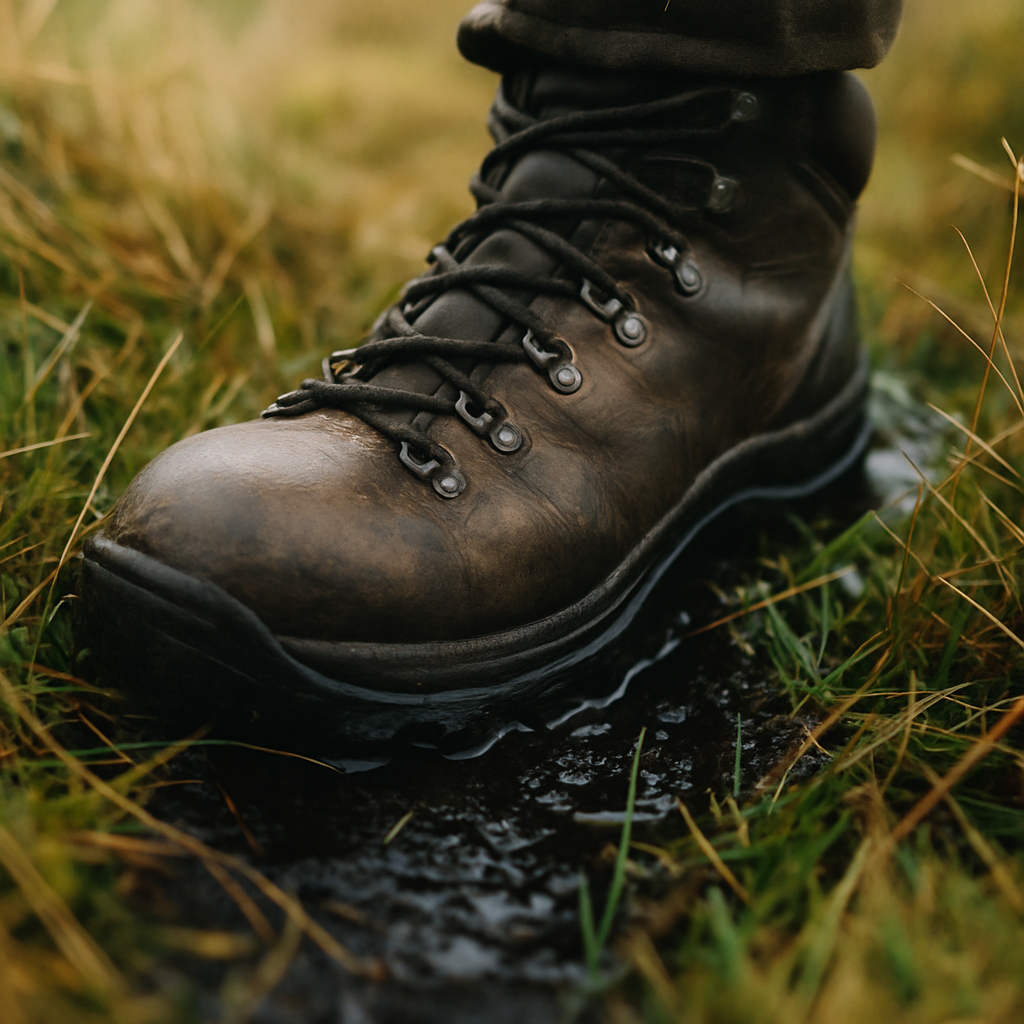
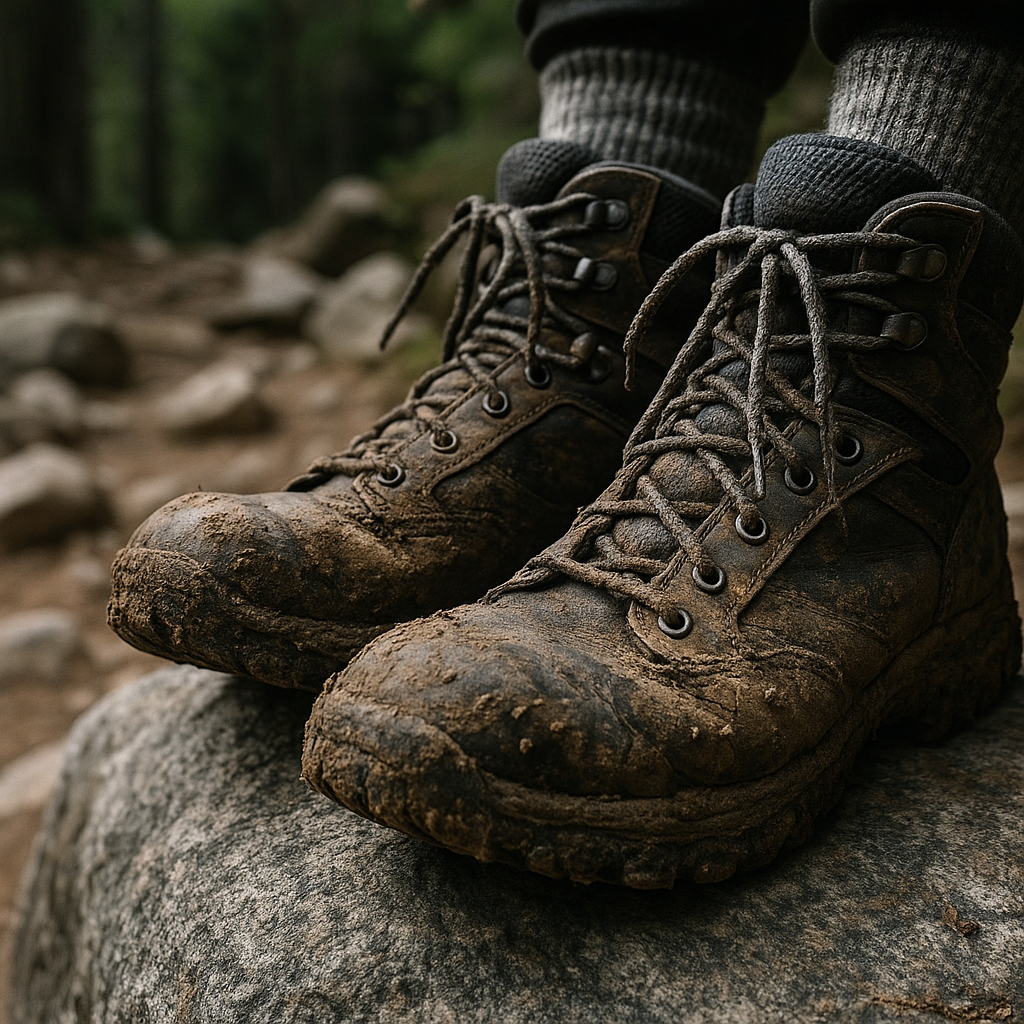
Second, your feet. I cannot overstate this. Foot care on a thru-hike is a full-time discipline. Wet socks are the beginning of the end for many people. Learn to tape, learn to drain, learn to recognise the difference between a hot spot and a blister that’s about to sideline you for a week.
Third, your head. The physical side of extreme long distance hiking trails is actually the part most people train for. The mental side, the weeks of repetitive effort, the loneliness, the days when your body says enough, is what sends people home. Experienced long-distance hikers often describe days 14 to 30 as the critical window. If you can get through that patch, you tend to find your rhythm.
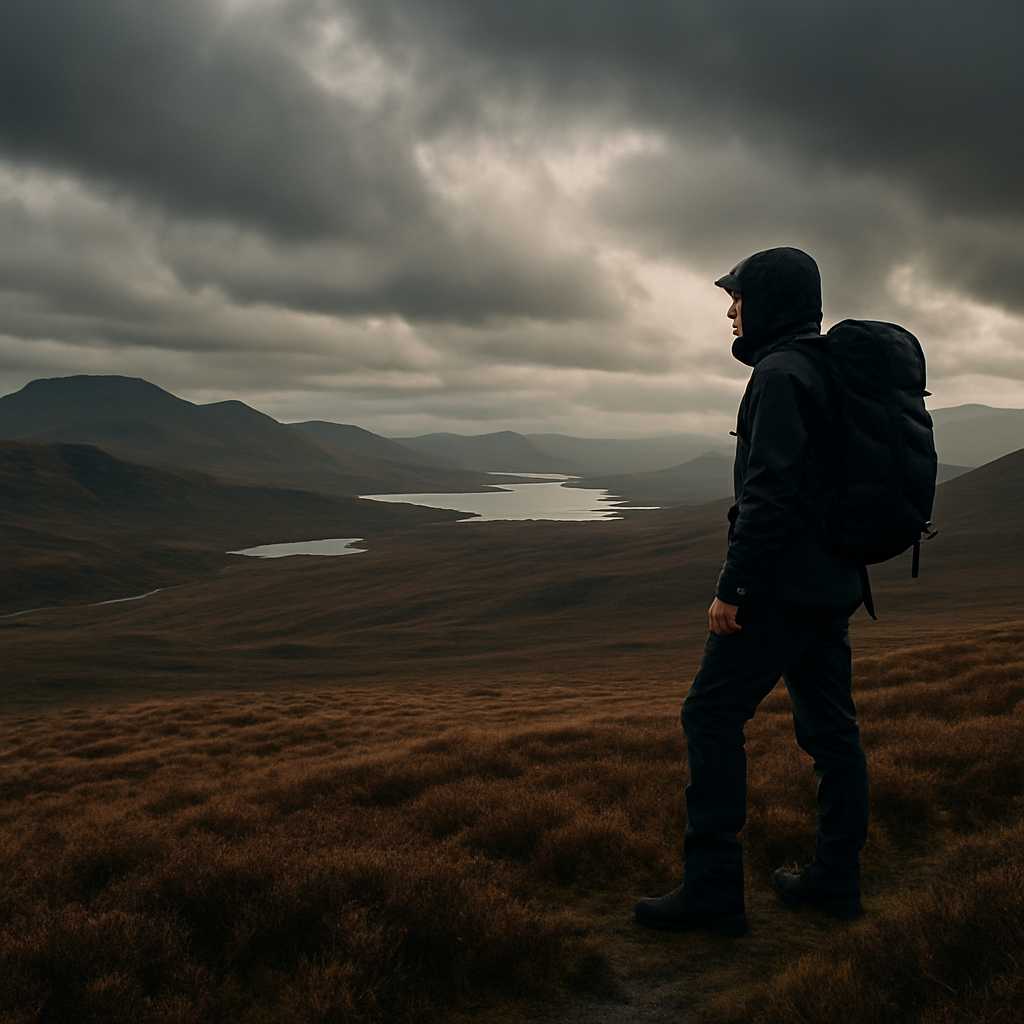
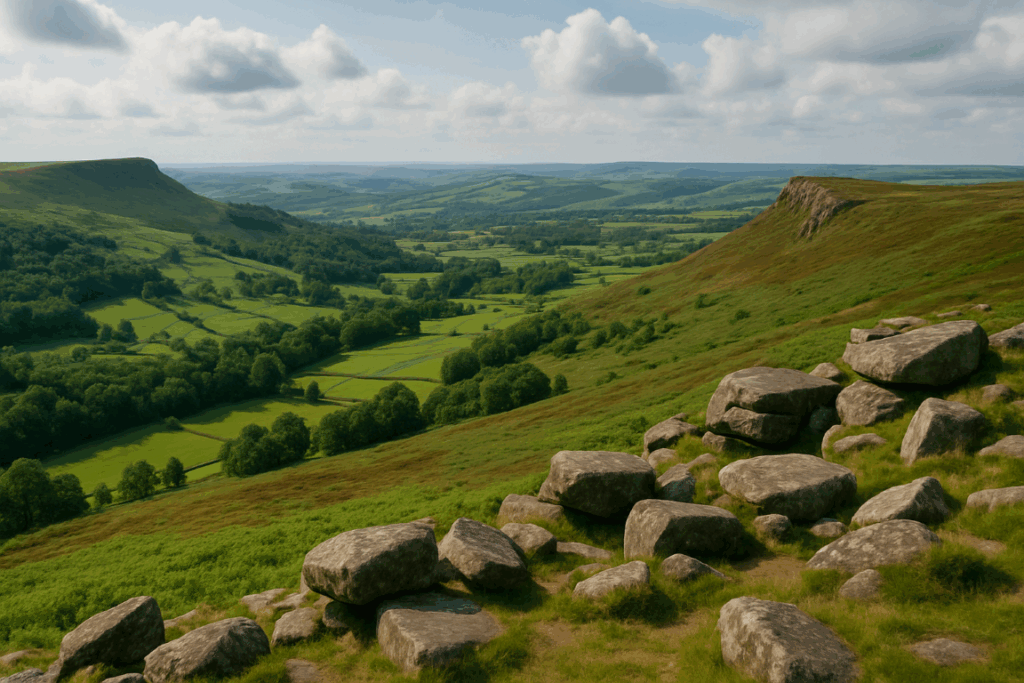
Training in the UK Before You Go
The good news is that the UK is genuinely excellent training ground for extreme long distance routes. The Pennine Way, the Cape Wrath Trail, and the South West Coast Path all offer sustained mileage, variable weather, and genuine wildness. The Cape Wrath Trail in particular, running roughly 400 kilometres from Fort William to Cape Wrath with almost no waymarking and serious river crossings, is as close as you’ll get on British soil to the unpredictability of a major thru-hike.
Use UK multi-day routes to test your gear, your nutrition strategy, your sleep system, and critically, your pack weight. Aim to keep your base weight (everything except water and food) under 7 kilograms. Every extra kilogram across 3,000 kilometres is a significant accumulation of strain on your knees and hips.
The world’s great trails are not closed to you. They just require honesty about where you are versus where you need to be. Start with what you can do now, build consistently, and pick your route based on honest self-assessment rather than Instagram ambition. That’s the hiker’s way.
Frequently Asked Questions
How long does it take to hike the Pacific Crest Trail end to end?
Most thru-hikers complete the Pacific Crest Trail in five to six months, typically starting northbound in late April. Some faster hikers finish in four months, but the average pace works out to around 40 to 50 kilometres per day once you’ve found your trail legs.
What is the hardest long distance hiking trail in the world?
This depends on how you measure difficulty. The Barkley Marathons course in Tennessee is the most punishing in terms of completion rate, but for thru-hikers the Hayduke Trail in the American Southwest and the Ouray 100 are frequently cited as brutally difficult. In Europe, the GR20 in Corsica is widely considered the hardest route, and is a realistic target for experienced UK hikers.
Do I need prior experience before attempting an extreme long distance trail?
Yes, genuinely. The Pacific Crest Trail Association recommends at least 800 miles of prior backpacking experience. Multi-day routes in the UK, such as the Cape Wrath Trail or the Pennine Way, are excellent preparation for understanding how your body, kit, and mindset hold up over sustained effort.
How much does it cost to thru-hike the Appalachian Trail?
Most AT thru-hikers budget between £5,000 and £8,000 for a full end-to-end hike, covering gear, food resupply, accommodation in trail towns, transport to and from the trailheads, and travel insurance. Costs vary widely depending on how often you stay in hostels versus camping, and how much you eat in restaurants along the way.
Can British hikers access the major US long distance trails?
Yes. British passport holders can enter the United States under the ESTA visa waiver programme for visits up to 90 days, but a full thru-hike typically takes five or six months, which means you’d need a B-2 tourist visa. Check the latest US entry requirements well in advance, and factor in the cost and processing time.